Projekt ScanComp
The aim of the “ScanComp” project is to compare the image quality of four scanner devices from different manufacturers
and to determine whether these differences are relevant for your decision-making.
You will be asked to complete three types of questionnaires, which you can find under the “Your questionnaires” (in the Demo called Slide List) tab.
In the entry questionnaire, you provide general information about your experience in digital pathology.
In the slide questionnaires (questionnaires that have a preview and information on material and staining), you should compare the images from the scanners for
a slide.
In the exit questionnaire, you evaluate the user-friendliness of the viewer.
Translated with DeepL.com (free version)
Viewer Operation
Navigation
The zoom level within the viewer can be changed by scrolling, a double-click, the buttons 1-5 and by clicking on the current zoom level (top left).
The position of the viewer can be adjusted by dragging it with your cursor or by
clicking on a position in the minimap (top right).
Synchronisation
The images from the four scanners are always registered. This means
that you should see the same section of the tissue in each of the four viewers.
However, the registration is not always perfect, which means that one of the viewers is usually
slightly shifted. You can manually remove this shift by desynchronizing the shifted
viewer, move it to the correct position and synchronize it with the other viewers again.
Use the “🔗” button to do this.
If you want to reset this shift, click on the "" button.
Additional Features
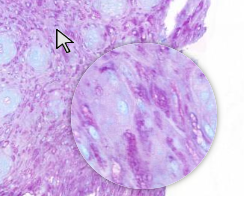
Magnifying Glass
The magnifying glass provides an enlarged view of the area over which the mouse pointer is positioned.
It can be deactivated in the toolbar.
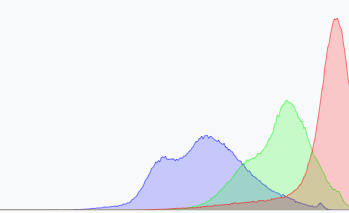
Colour histogram
The colour histogram shows the distribution of red, blue and green tones in the currently displayed section.
The x-axis shows dark tones on the left and light tones on the right. Like the magnifying glass, the colour histogram
can be deactivated in the toolbar.
Aspects of Image Quality
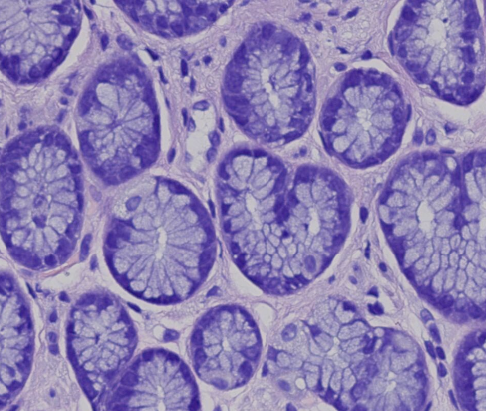
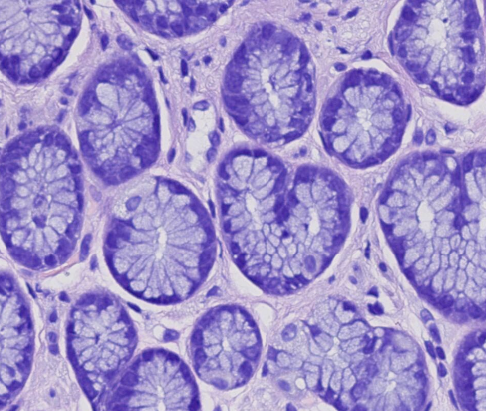
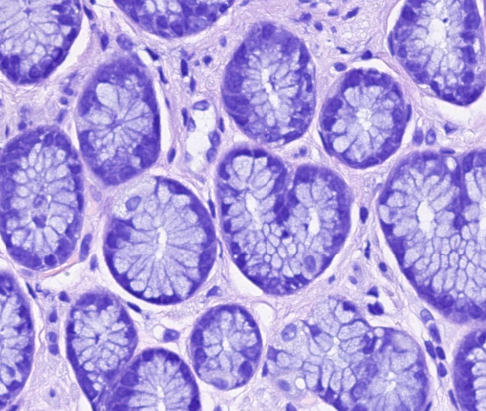
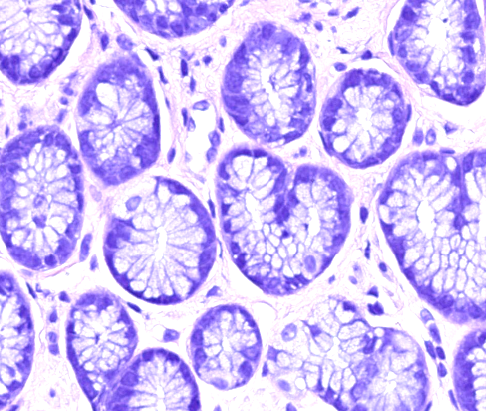
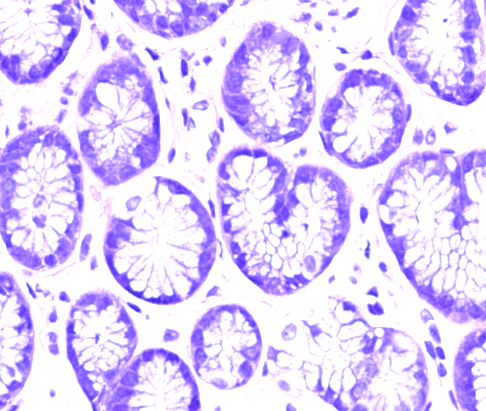
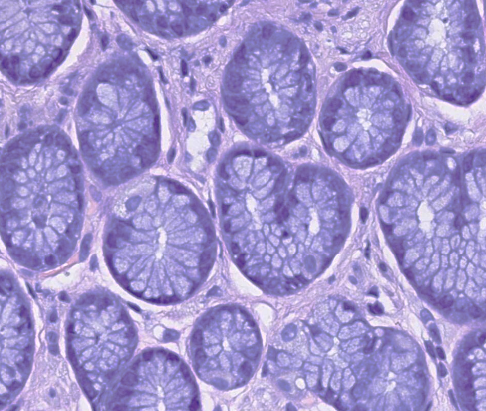
Sharpness
Sharpness describes how good the resolution of the image is and how well fine structures are reproduced.
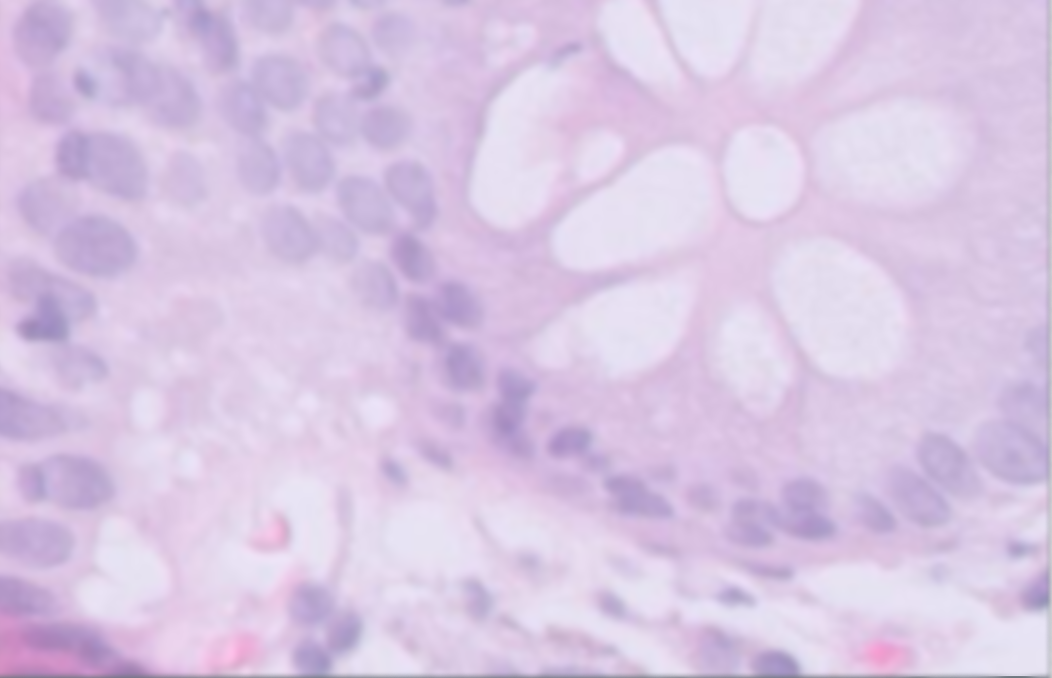
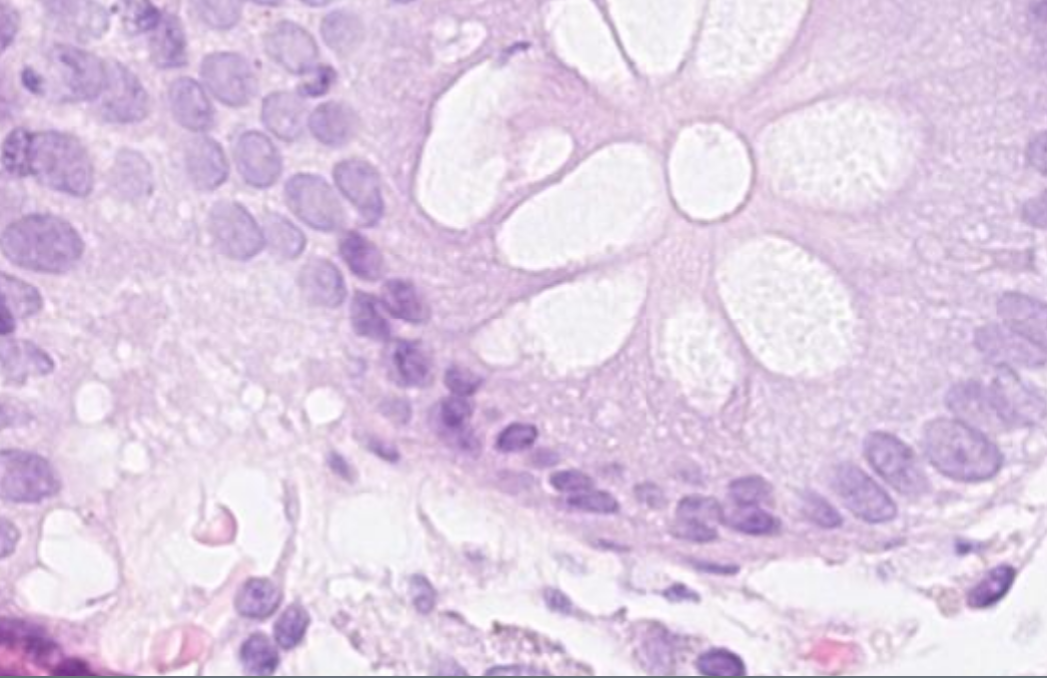
low sharpness
high sharpness
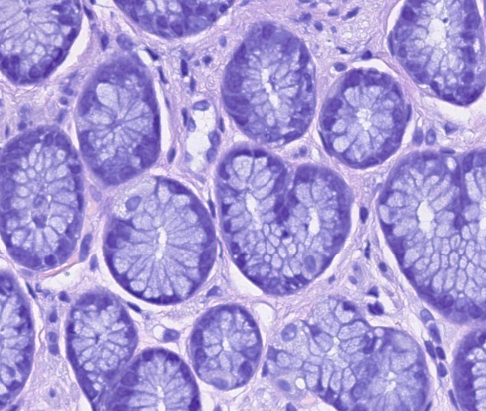
Brightness
low
no changes
high
If the brightness is increased, all values in the image (dark and light) are brightened.
Kontrast
Contrast in images refers to the difference between the light and dark areas of the image.
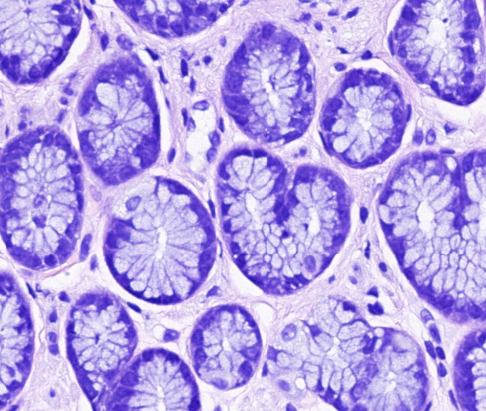

low
no changes
high
If the contrast is increased, the dark areas are darkened and the light areas are brightened.
Colour Realism
Colour realism refers to how well the colours in an image match the actual colours of the slide (under the light microscope).
Since we do not have any comparison images from an analog light microscope, you must determine this based on your experience with the material and the staining.
It is only a matter of recognizing unrealistic colours that you would not expect to see under the light microscope (e.g. oversaturated colours, imprecise colour transitions, pale colours).
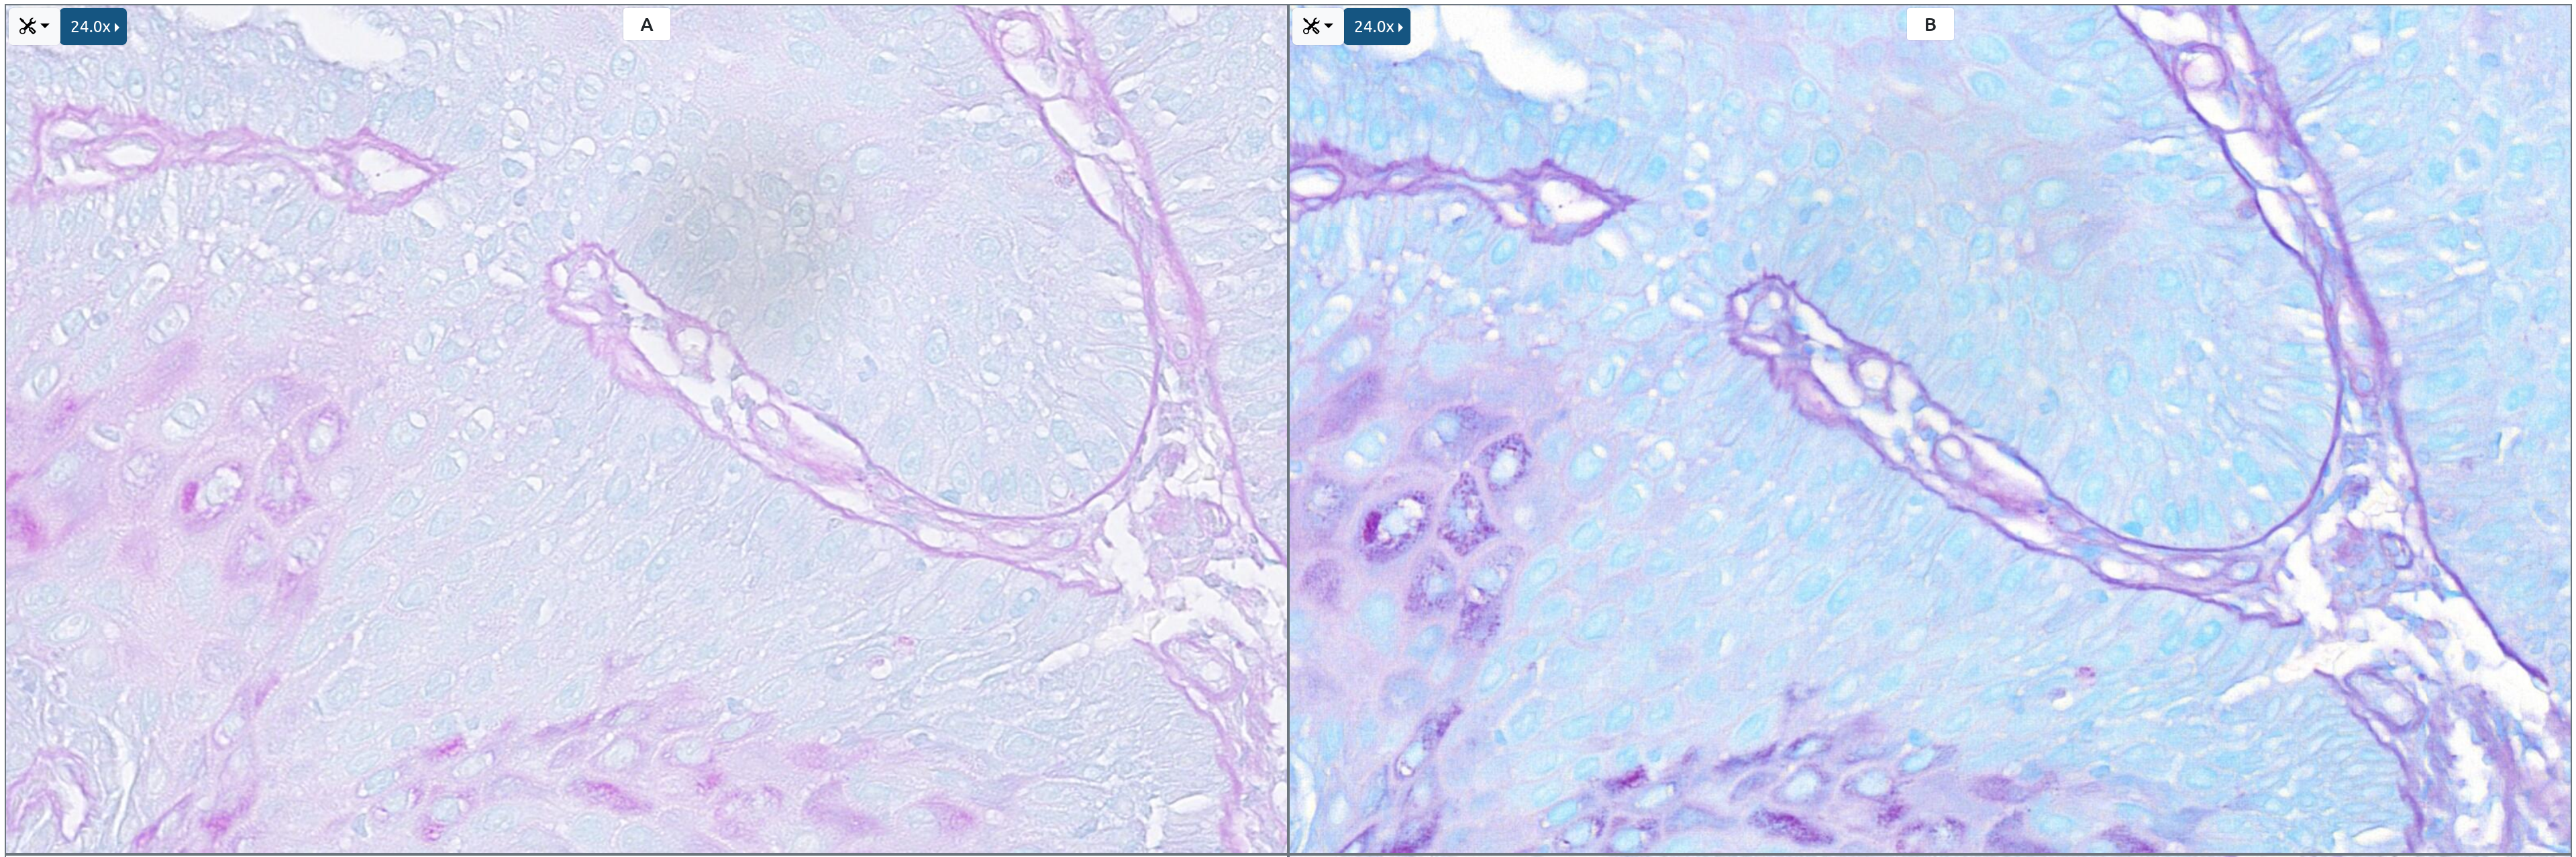
Differences in colour for the same slide
Artefacts
Artefacts are unwanted changes or disturbances that occur during the capture or processing of the slides.
We are only interested in scanner-specific Artefacts.
Artefacts that you should consider.

Missing tissue

Stripe artefacts

Local faulty focusing
Artefacts that you should ignore.

Dust particles

Markings on the glass slide

Air bubbles & inclusions